








How to Do Party Makeup: Order and Timing
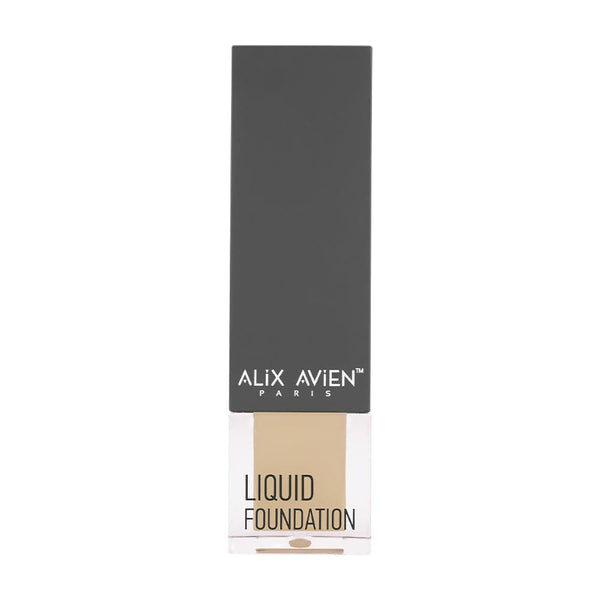
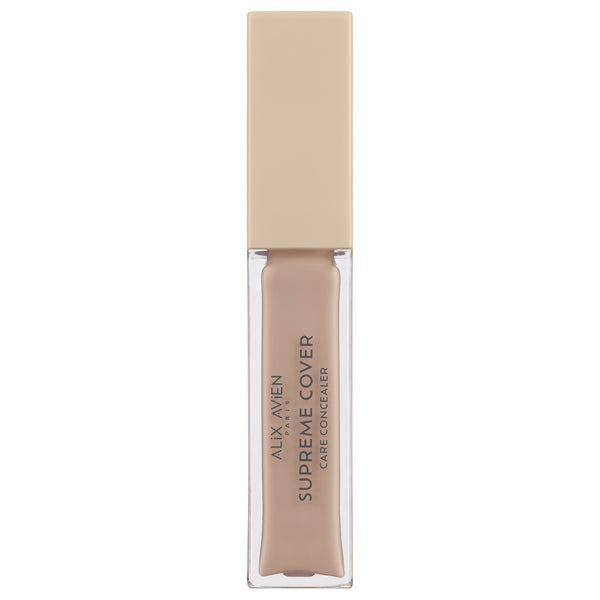
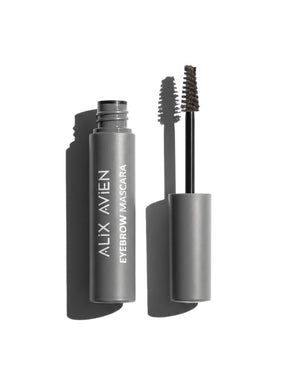
Party makeup is done in this order: base, concealer, setting powder, depth, radiance, eyes and lips last. The total time is 25-30 minutes. Where it differs from daytime makeup isn't the amount of product, but the switch to waterproof formulas in areas that get rubbed.
The nine pieces in this collection come together in this order. To see individual alternatives for each layer, take a look at the face makeup collection.
How Is Party Makeup Different from Daytime Makeup?
Three variables set party makeup apart from daytime makeup: the light source, how long the makeup needs to last and the chance of photos. During the day, 4-5 hours of wear is enough, while a party can run to 8 hours; the lighting isn't daylight but yellowish indoor light, and a flash can go off at any moment.
These three variables change product choice too. A cream blush that works easily by day can fade within the first two hours of a long evening; a thin base that looks natural by day can fall short under indoor lighting. The decision is made not on the quality of the product but on the demands of the setting.
How Does Makeup Look Under Artificial Light?
Under artificial light, cool and pink tones fade, while warm tones look more intense than they are. Yellowish indoor lighting also falls from a single direction above, blurring the natural shadow under the cheeks, so the face reads flatter in the frame than it really is.
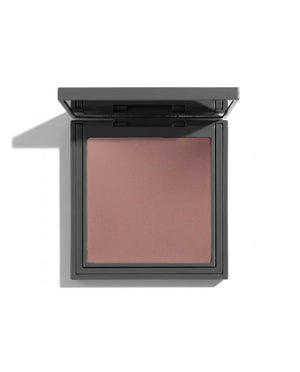
That's why the set includes both a silky powder blush and a bronzing powder: the two things that get lost, radiance and depth, need to be put back separately. Keeping the temperature of the two shades close when applying them keeps the face consistent even when the color of the light changes.
Why Does Makeup Look Different in Photos?
A flash suddenly increases the light bouncing back off the surface; that's why heavily applied loose powder shows up in photos as a pale white cast. Even if your reflection in the mirror looks natural, the face flattens in the frame. The solution isn't changing the product but narrowing the area it's applied to.
Compact powder is applied in a thin layer only to the sides of the nose, the center of the forehead and the tip of the chin. Leaving no powder on the cheeks keeps the face's dimension in photos.
A second way to check is to take a test shot with flash before you're in the frame. If a white ring shows on the screen, there's too much powder, and it can be lifted by pressing with a clean sponge. If, on the contrary, the face comes out flat and colorless, what's missing is depth.
How to Make Evening Makeup Last
The staying power of evening makeup comes not from layer thickness but from choosing the right formula in the three areas with the most friction: the lips, under the eyes and the sides of the nose. Waterproof products are used on these spots, and thin layers everywhere else.
- Laying down liner under lipstick to build an edge on the lips
- Waiting 30 seconds for the gel formula to dry on the eyelid
- Leaving just one thin layer of powder on the sides of the nose
- Placing concealer only where it's needed, not over a wide area
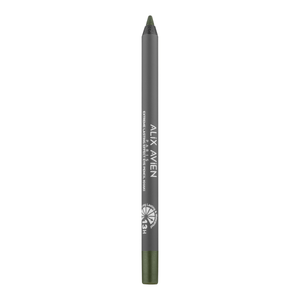
The long-lasting lip pencil keeps lipstick from sliding in from the edges; the waterproof gel eyeliner doesn't transfer once dry, even with pressure on the lid.
Should You Play Up the Eyes or the Lips for a Party?
At a party, having both areas at maximum intensity makes the face look tired, so one of them takes the lead. If you've chosen an intense eye, the lips stay in a satin, medium-intensity shade. If the lips take the lead, a line at the lash roots and mascara on the eyes are enough.
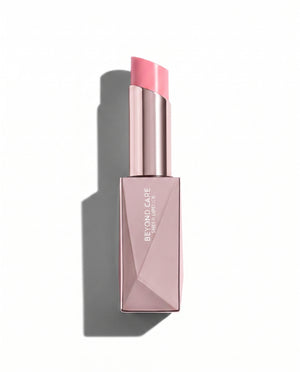
The setting itself gives you a clue: at an evening spent up close, lips read better; at a crowded event where you'll be seen from a distance, the eyes do. A satin-finish lipstick has the right intensity to build balance in either direction.
What Is the Most Common Party Makeup Mistake?
The most common mistake is making every layer thicker: heavier foundation, more powder, concealer over a wider area. Thick layers crack with facial movement, and makeup expected to last 8 hours breaks down within 2 hours. Staying power comes not from thickness but from layers gripping each other.
Rather than increasing intensity, switching to long-wear formulas only in high-friction areas is a more reliable method. You can compare other combinations built for different purposes on the sets page.